
Views: 0 Author: Site Editor Publish Time: 2026-08-04 Origin: Site


Removing a residential light fixture involves working closely with household electricity. This inherently dangerous process requires strict safety protocols over assumed DIY knowledge. One simple misstep can lead to severe shocks or unexpected electrical fires. Successfully replacing a fixture requires much more than just physical removal. You must accurately identify hidden mounting hardware and safely cap live wires. You also need to properly evaluate the condition of existing electrical junction boxes to ensure they can physically support your new unit safely.
This guide provides standard operating procedures for safely disconnecting modern and legacy fixtures. We will help you troubleshoot stubborn ceiling mounts and determine exactly when professional intervention is required. You will learn the specific mechanical steps to isolate electrical power, remove fragile covers safely, and inspect internal wiring. Follow this comprehensive execution guide to protect yourself, your electrical panel, and your home from unnecessary damage.
Safety is Non-Negotiable: Turning off the wall switch is insufficient; power must be severed at the main breaker panel and verified with a non-contact voltage tester.
Cover Types Dictate Strategy: Flush mounts, finial domes, and spring-clip covers require different leverage techniques to avoid breaking glass or damaging drywall.
Legacy Wiring Carries Risk: Homes built before 1980 may feature brittle cloth wiring or lack grounding, requiring specialized handling or a professional upgrade.
Documentation Prevents Errors: Photographing the existing wire connections (hot, neutral, ground) before disconnection serves as a visual map for installing the replacement fixture.
You must start by gathering the correct tools. Professional electricians never rely on guesswork. They rely entirely on certified testing equipment to prevent catastrophic accidents. You need a dedicated, clean workspace to manage hardware. Ensure you clear the floor space directly beneath your active work zone. Lay down a heavy canvas drop cloth or thick blanket. This creates a safe drop zone for tiny set screws, mounting brackets, and delicate glass components. It physically prevents fragile parts from shattering on hard floors if they slip from your hands.
Essential safety equipment includes the following items:
Non-contact voltage tester (absolutely mandatory for safety verification)
Insulated screwdrivers (both Phillips and flathead varieties)
High-quality wire nuts in various sizes (orange and yellow fit most standard household wires)
Safety goggles to protect your eyes from falling drywall debris, dust, and rust
A stable, fiberglass A-frame stepladder (avoid conductive aluminum ladders near electricity)
Electrical tape for safe temporary wire management
Do not make assumptions about your home's wiring scheme. Standard modern homes usually use black insulation for hot wires and white insulation for neutral wires. However, older homes frequently feature completely different color schemes. Sometimes heavy paint overspray obscures the original wire colors entirely. Prepare to label your wires manually with masking tape if the configurations look non-standard. We highly recommend mapping out the connections before you touch them. You will save hours of frustration later. A simple wiring mistake here can short-circuit your new Ceiling Light or permanently damage your circuit panel.
Electrical safety always starts at the main breaker box. Turning off the room's wall switch is never enough to protect you. Wall switches only break the electrical connection on the primary hot wire. They do not isolate the entire circuit from potential back-feeding currents. Identify and switch off the specific circuit breaker controlling your designated room. If your panel breakers lack accurate labels, turn on the light fixture and flip breakers sequentially until the bulb turns off.
Apply the double-check rule immediately after flipping the breaker. Return to the room and turn the wall switch to the "ON" position. Verify the bulbs do not illuminate. This serves as your first fundamental layer of protection. However, you must not stop there. Residual current or miswired circuits can still pose a fatal shock risk.
You must perform a direct physical voltage test. Remove the mounting canopy slightly from the ceiling surface. Create just enough spatial clearance to access the internal wiring box. Use your non-contact voltage tester directly on the exposed wires. Move the sensitive tester probe close to the black hot wires first. The pen will beep loudly or flash a red LED if it detects live current. Check every single wire inside the junction box. Check the metal box itself. Do this before fully touching any internal components. This absolute zero-energy verification guarantees a safe working environment for the remaining steps.
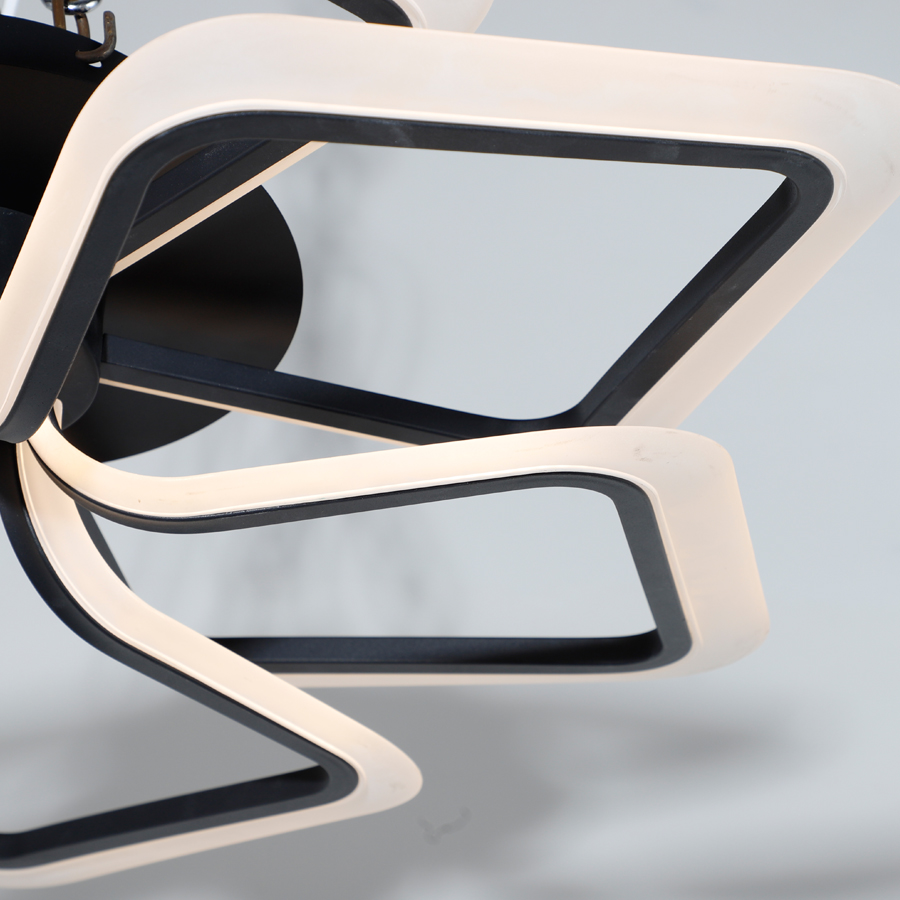
Fixture covers come in countless shapes and sizes. They utilize wildly different mechanical fasteners depending on their specific design era. Understanding your specific cover type directly dictates your removal strategy. Forcing a glass shade downward will almost always result in breakage and injury.
Let us break down the solution categories based strictly on fixture style. Center finial domes are incredibly common in residential bedrooms. These feature a central decorative nut holding a glass bowl securely. Support the glass dome firmly with one hand. Use your free hand to unscrew the central nut counterclockwise. Keep upward pressure against the glass until the nut comes entirely off the threaded post.
Flush mounts often utilize a clever twist-and-lock mechanism. Apply gentle upward pressure against the outer base. Twist the entire housing counterclockwise. Do not force the rotation if it fiercely resists. Inspect the outer perimeter closely for hidden set screws. Manufacturers often use tiny side screws to lock the cover permanently in place.
Spring-loaded clips secure modern recessed trims and lightweight LED panels. Gently pull the outer decorative ring downward about one inch. This exposes V-shaped metal torsion springs holding the unit inside the housing. Squeeze the two sides of the spring tightly together to release them from their internal brackets.
Legacy square or rectangular covers dominate older mid-century builds. These specialized units often lack visible screws entirely. Look for a sliding glass track along the edges. Some feature hidden side clips you must push inward. Others rely entirely on a "lift and tilt" mechanical action. Push one side up firmly into the housing to clear a metal lip, then pull the opposite side down freely.
Use the chart below to identify the safest removal technique for your specific hardware.
Fixture Cover Style | Visual Identifying Features | Safe Mechanical Removal Strategy |
|---|---|---|
Center Finial Dome | A decorative nut located in the very center of a glass bowl. | Support glass tightly with one hand; unscrew nut counterclockwise with the other. |
Twist-and-Lock Flush Mount | Clean exterior profile with no visible screws or central nuts. | Press upward gently and twist counterclockwise. Inspect for hidden perimeter set screws. |
Spring-Loaded Clip | Recessed lighting look or ultra-thin LED profile hugging the drywall. | Pull the unit down 1-2 inches. Squeeze V-shaped torsion springs to detach. |
Legacy Square/Rectangular | Large glass panel sitting inside a heavy metal frame (1950s style). | Test for sliding tracks, side tension clips, or use the lift-and-tilt method. |
Once you safely remove the outer shade, the internal mounting bracket becomes entirely visible. Start by lowering the main base safely. Unscrew the mounting canopy from the electrical junction box. Have a secondary support system ready for this step. A helper can hold the fixture's physical weight easily. If you work alone, use a stiff metal wire or a small bungee cord to hang the unit from the mounting bracket temporarily. Never let the fixture hang freely by its internal electrical wires. This puts extremely dangerous strain on the copper connections.
Documenting the wiring connections is your next critical step. Take a clear, well-lit photograph of the wire nut configurations before unwinding them. Pay close attention to how the wires group together. Sometimes one fixture wire connects to two different house wires. Your photograph serves as a foolproof map for the reinstallation phase.
Follow a strict operational sequence for disconnecting the wires. Here is the safest standard order of disconnection:
Remove the existing wire nuts by twisting them firmly counterclockwise.
Untwist the flexible fixture wires from the solid copper house wires. Separate them gently.
Disconnect the live hot wire first. This wire is usually black or red.
Disconnect the neutral wire second. This wire is typically white.
Disconnect the grounding wire last. This wire features bare copper or green insulation.
You must cap off the house wires immediately if you are not installing the new Ceiling Light right away. Twist fresh wire nuts back onto the exposed copper ends. Turn the nuts until they bite firmly into the wire threads. Push these newly capped wires safely back up into the metal junction box. This prevents accidental shock contact if someone unknowingly turns the breaker back on.
Older homes consistently present unique mechanical challenges. Fixtures sit entirely undisturbed for decades. They literally fuse to the ceiling through rust, bulb heat, and multiple thick layers of paint.
Painted-over canopies require extremely careful handling. Landlords and painters often roll directly over the metal mounting base. The dry paint glues the metal firmly to the fragile drywall. If you pull downward forcefully, you will tear the ceiling drywall paper entirely off. Instead, score the outer perimeter with a sharp utility knife. Cut deeply along the exact edge where the metal physically meets the ceiling. This severs the paint seal and guarantees a clean, damage-free removal.
Stripped screws stop many DIY projects in their tracks. Severe rust and previous over-tightening completely strip the soft screw heads. Place a wide, flat rubber band over your screwdriver tip. Push it firmly into the stripped metal head. The rubber provides necessary extra grip to turn the damaged fastener. If this friction trick fails, utilize a specialized screw extractor kit. These hardened bits drill directly into the screw shaft to back it out safely.
Brittle wire insulation poses a massive safety hazard. You will find this primarily in older, legacy homes. The plastic or cloth insulation literally crumbles into dust upon physical touch. The intense heat from old incandescent bulbs massively accelerates this chemical degradation. Wrap exposed sections tightly in high-quality electrical tape as an immediate temporary fix. However, you must flag this specific condition for professional rewiring. Crumbled insulation routinely causes invisible short circuits and hidden arching inside the ceiling.
Replacing a basic light seems highly straightforward. However, complex electrical infrastructure degrades significantly over time. You must know exactly when to proceed and when to halt the project entirely. Evaluating the existing conditions aggressively protects your home from hidden fire hazards.
Proceed with your DIY installation if the wiring is visibly modern. Post-1980s homes generally feature modern Romex cabling. The plastic insulation should feel highly flexible and physically intact. You should see a clear, bare copper ground wire present inside the box. The electrical junction box must sit securely mounted directly to a wooden ceiling joist. If these safe conditions exist, you can proceed with confidence.
Certain structural scenarios require immediate professional intervention. Do not attempt to bypass these dangerous problems. Call a licensed residential electrician if you observe these severe red flags:
Presence of silver-colored aluminum wiring. This material is highly common in homes built between 1965 and 1973. Aluminum constantly expands and contracts differently than copper. It strictly requires highly specialized Al/Cu connectors and antioxidant pastes to prevent house fires.
Scorched, melted, or blackened wires inside the metal box. This visible thermal damage indicates a previous short circuit or severe system overloading.
No ground wire present in a metal electrical box. Ungrounded metal boxes carry fatal shock risks if a stray hot wire physically slips.
The existing electrical box feels loose or features brittle, cracked plastic.
The box remains unrated for the heavy weight of your new fixture. Heavy chandeliers and dynamic ceiling fans strictly require special fan-rated boxes braced forcefully across ceiling joists.
Safely removing a light fixture requires intense preparation, physical patience, and strict adherence to electrical safety rules. You must aggressively isolate power at the main breaker and verify zero energy with a reliable non-contact tester. Removing the outer cover carefully prevents property damage and severe injury. Documenting your exact wiring setup ensures you can install the replacement accurately without guessing. Always disconnect your internal wires in the proper hot-to-ground sequence.
Take decisive action before unpacking your new lighting unit. With the old fixture completely removed, evaluate the exposed electrical box immediately. Check its stamped weight rating and verify its internal structural integrity. Inspect the outer wire insulation for invisible heat damage. Once you definitively confirm the box is secure and the wiring is pristine, you can confidently prepare your replacement fixture for permanent installation.
A: First, try pressing upward gently and twisting the entire fixture counterclockwise to disengage a twist-lock mechanism. If it resists, pull down slightly on the outer edge to see if spring-loaded torsion clips hold it in place. For older square fixtures, look for a hidden sliding track or use the lift-and-tilt method to bypass internal friction clips.
A: No. Turning off the wall switch only disconnects the hot wire. It does not protect against neutral wire back-feeding or miswired circuits. You must switch off the circuit breaker at the main electrical panel and verify the zero-energy state with a non-contact voltage tester before touching any wires.
A: Older homes often feature ambiguous wire colors or cloth insulation. Use a digital multimeter or non-contact voltage tester to identify the live hot wire carefully. Label each wire with masking tape before disconnecting them. If the wiring is extremely degraded or confusing, halt the project and consult a licensed electrician immediately.
A: Twist appropriately sized wire nuts onto the exposed bare copper ends of the ceiling wires. Ensure the nuts bite tightly into the metal so no copper remains visible. Once capped securely, gently push the wires back up into the junction box. Keep the breaker off until you install the replacement.


