
Views: 0 Author: Site Editor Publish Time: 2026-08-04 Origin: Site


Selecting the right fixtures transforms a room from basic to breathtaking. Pendant Lighting serves as both a primary illumination source and a highly visible architectural element. These fixtures drop directly into our line of sight. Therefore, sizing and placement errors become immediately obvious. Buyers often struggle to balance pure aesthetics against strict spatial realities.
This guide establishes a rigorous framework for evaluating scale, technical specifications, and installation requirements. We move beyond mere style preferences. You need reliable strategies to measure rooms and assess ceiling types before making a purchase. Choosing a fixture based solely on its showroom appearance often results in severe scaling issues or inadequate brightness.
Proper selection requires calculating your exact room dimensions. You must also understand how light disperses through different materials. Finally, verifying your electrical infrastructure beforehand prevents frustrating installation roadblocks. Expect practical formulas, industry-standard clearances, and expert hardware checks to ensure flawless integration into your home.
Size matters most: A fixture’s diameter should mathematically correlate to the room's footprint or the surface it illuminates.
Clearance is standard but adaptable: The standard 30-to-36-inch clearance above surfaces acts as a baseline, but ceiling height dictates final suspension length.
Form dictates function: Shade material directly controls whether a pendant provides ambient glow, focused task lighting, or localized accent lighting.
Verify installation hardware: Not all pendants support sloped ceilings or heavy junction box loads without secondary mounting hardware.
Buyers frequently return fixtures because they look disproportionately small or overwhelmingly large in the physical space. Huge retail showrooms severely distort our perception of scale. A fixture might look modest in a massive warehouse. However, it can easily overpower a standard dining room. We solve this business problem by relying strictly on mathematical sizing formulas.
You can determine the ideal scale for central ambient fixtures using a simple calculation. This method prevents guesswork and establishes a proportional baseline.
Measure the overall length of your room in feet.
Measure the overall width of your room in feet.
Add these two numerical values together.
Convert that exact sum directly into inches.
For example, imagine you have a room measuring 10 feet by 12 feet. You add 10 and 12 to get 22. Therefore, a 22-inch diameter pendant fits this space perfectly. This formula guarantees proportional harmony within open areas.
Different rules apply when suspending fixtures over specific furniture pieces. You must relate the fixture size to the surface below it. Subtract 12 inches from the total width of your table or island. This calculation determines the maximum allowable fixture diameter.
Furthermore, ensure the fixture stops at least 6 inches from the absolute edge of the surface. This critical buffer zone prevents bumped heads. When guests stand up or lean across the table, they will avoid hitting the shade.
A fixture's height matters just as much as its width. You must evaluate the vertical scale to ensure visual balance. Multiply your total ceiling height in feet by 2.5 to 3. This yields the recommended pendant height in inches.
Note that this measurement excludes the suspension chain or rod. It applies strictly to the main body of the fixture. For an 8-foot ceiling, you should look for a fixture body roughly 20 to 24 inches tall. This prevents tall fixtures from looking cramped in low-ceiling rooms.
Evaluation requires translating spatial dimensions into comfortable, functional living arrangements. Proper clearance ensures unobstructed sightlines across a room. It also guarantees safe foot traffic. We adapt standard clearance baselines based on the specific function of each room.
Kitchen islands function as heavy-duty workspaces. Maintain 30 to 36 inches of clearance between the countertop and the bottom of the pendant. This specific gap keeps the light source below eye level for standing adults. It prevents blinding glare while you chop vegetables.
Spacing multiple fixtures requires equal precision. Keep 24 to 30 inches of empty space between each fixture. This spacing provides an overlapping, even wash of light. It also prevents the ceiling area from looking visually cluttered.
Dining spaces prioritize seated visibility. Suspend your fixture 30 to 36 inches above the dining table based on a standard 8-foot ceiling. This height allows dinner guests to see each other across the table easily.
Ceiling height strictly dictates your final suspension length. Add 3 inches of suspension height for every additional foot of ceiling height above 8 feet. If you have a 10-foot ceiling, your fixture should sit roughly 36 to 42 inches above the table surface.
Safety dictates placement rules in transitional spaces. You require a minimum 7-foot clearance from the floor to the bottom of the fixture. This measurement guarantees safe foot traffic for taller individuals.
Two-story foyers present a unique architectural challenge. You should align the pendant visually with the center of your upper-level windows. This ensures the fixture looks beautifully centered when viewed from outside the house. Never let a fixture hang awkwardly between window frames.
Implementation risks rise significantly if you fail to match output with room requirements. A visually stunning fixture fails if it leaves a prep area shadowed. You must evaluate the technical components driving the actual illumination.
Historically, buyers evaluated brightness using watts. Today, you must evaluate brightness based strictly on lumens. Watts merely measure electrical consumption. Lumens dictate the actual light volume emitted.
Aim for 300 to 400 lumens for localized accent lighting. If you need task lighting over kitchen islands, target 700 to 1000 or more lumens per fixture. This ensures you have adequate visibility for cooking tasks.
The chart below summarizes recommended specifications based on functional zones.
Room Function | Recommended Lumens | Ideal Color Temperature |
|---|---|---|
Living / Accent Areas | 300 - 400 Lumens | 2700K - 3000K |
Dining / General Ambient | 400 - 700 Lumens | 2700K - 3000K |
Kitchen / Task Prep | 700 - 1000+ Lumens | 3500K - 4000K |
Color temperature alters the psychological feel of your room. We measure this metric in Kelvins (K). Lower numbers emit warm light. Higher numbers emit cool, bluish light.
Select 2700K to 3000K for warm, inviting residential spaces like living rooms. This mimics traditional incandescent bulbs. Switch to 3500K to 4000K for high-contrast task areas. A 4000K bulb in a kitchen improves color accuracy, helping you judge food freshness perfectly.
Modern fixtures utilize two distinct lighting technologies. Each carries specific advantages and distinct structural compromises.
Integrated LED: These feature built-in diode arrays. They offer slimmer profiles and incredibly long lifespans. However, you face a major risk. If the internal driver fails, you must replace the entire fixture.
Standard Sockets (E26): These use traditional screw-in bulbs. They provide greater flexibility to upgrade bulbs as technology improves. Sadly, the bulky socket limits the overall fixture design.
Dimming circuits grant ultimate control over your room's mood. However, not all fixtures play nicely with existing wall switches. You must verify if the fixture requires specific trailing-edge or leading-edge dimmer switches.
A common mistake involves pairing modern LEDs with old incandescent dimmers. This mismatch causes severe flickering. It also drastically reduces the operational lifespan of the bulb.
Assessing structural and hardware limitations before finalizing a purchase ensures scalability and compliance. A beautiful design fails if you cannot mount it safely to your specific ceiling architecture.
Manufacturers provide three primary suspension methods. Your ceiling type and desired aesthetic should drive this choice.
Downrods: These metal stems offer a clean, rigid look. They require exact math during installation. Adjustments remain strictly limited to the lengths of the provided rod segments. You cannot trim them seamlessly.
Cords and Chains: These materials are highly adjustable on-site. You can cut cords or remove chain links effortlessly. They are ideal for older homes where ceilings might slope or sag unevenly.
We explicitly warn buyers to check for sloped-ceiling compatibility. Many modern homes feature vaulted architecture. Rigid downrods without a swiveling canopy adapter will hang at a stark angle.
This puts severe mechanical stress on the mounting bracket. It also ruins the visual symmetry of the room. Always verify that the canopy includes an internal ball joint to accommodate angled drywall.
Heavy materials like concrete or solid brass weigh down mounting hardware rapidly. Standard ceiling boxes handle lightweight fixtures perfectly. However, heavier designs demand structural compliance.
Any fixture exceeding 50 pounds requires structurally reinforced electrical boxes. You must brace these heavy-duty boxes directly to the ceiling joists. Skipping this step risks catastrophic failure, pulling drywall and wiring down onto your floor.
Physical materials determine how light behaves in a three-dimensional space. Understanding features-to-outcomes helps you control light distribution. Shade materials also impact your weekly cleaning routines.
Opaque shades force light strictly downward. They block all lateral light escape. We classify this as highly directional lighting.
These materials are ideal for kitchen islands and dining tables. They pool bright light exactly where you need it. However, they perform poorly for lighting a whole room. They leave upper walls and ceilings completely dark.
Clear materials provide a spectacular 360-degree ambient glow. They push light in every possible direction, brightening the entire volume of a room.
You must acknowledge the inherent risks. Clear glass exposes the bare bulb directly to your eyes. This causes frustrating glare. Furthermore, clear materials highlight every speck of dust and fingerprint, requiring aggressive maintenance.
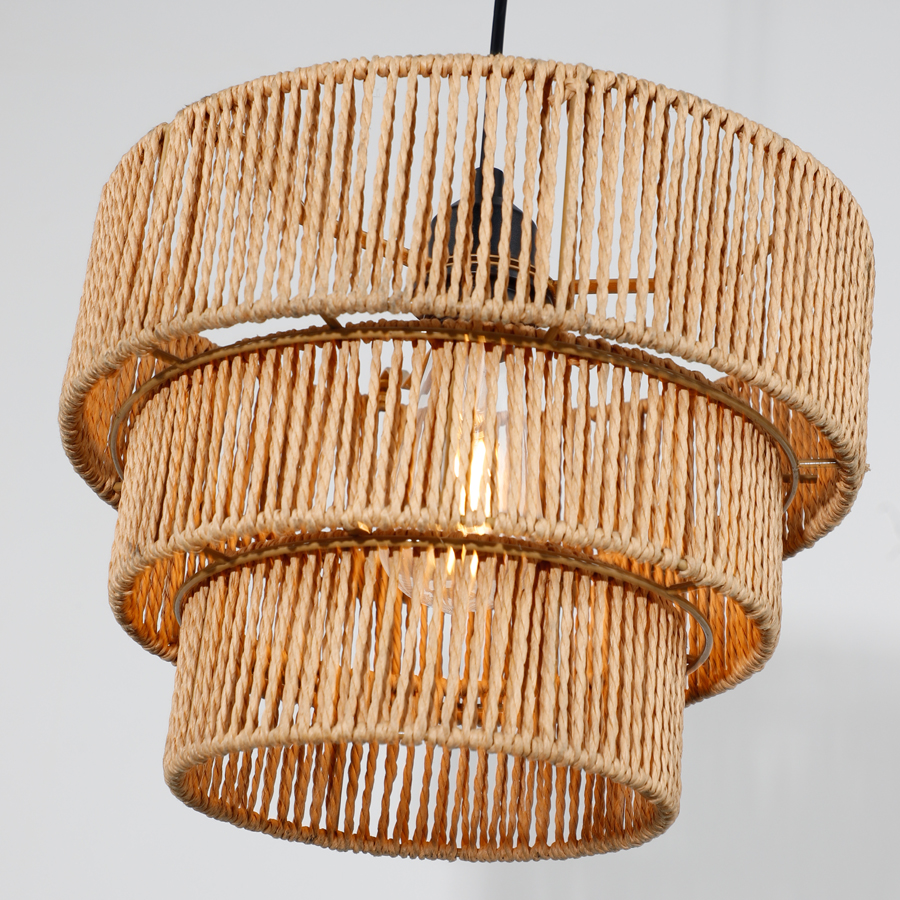
Woven materials diffuse light softly into the environment. They filter the harshness of bare bulbs. Often, they cast beautiful, intricate shadows across adjacent walls.
Treat these shades as supplementary ambient lighting. They set a relaxed, bohemian mood effectively. Because they obscure and scatter the light, they serve poorly as primary task lighting for detailed work.
Mastering this decision framework guarantees a successful lighting installation. First, calculate your necessary fixture diameter using precise room measurements. Next, confirm your vertical clearance based on ceiling height and standard spacing rules.
You must choose your shade material based strictly on directional lighting needs. A metal dome works for task areas, while clear glass suits ambient zones. Finally, verify hardware compatibility. Check sloped ceiling adapters and ensure your junction box supports the final weight.
Your immediate next step requires physical action. Measure your intended installation space with a tape measure today. Consult your electrical junction box rating before shortlisting specific models. Taking these practical steps ensures your new lighting looks stunning and functions flawlessly.
A: Rely on the Rule of Three for standard islands measuring 6 to 8 feet. This creates balanced visual symmetry. For smaller islands around 4 to 5 feet, two larger fixtures often provide a cleaner aesthetic. Avoid using three crowded pendants on a short island.
A: Yes, provided they share a unifying element. Matching metal finishes or complementary geometric shapes tie different fixtures together. Most importantly, maintain identical color temperatures (Kelvins) across all bulbs so the ambient glow remains entirely cohesive.
A: Rarely on their own. They are best utilized as layered lighting elements. You should operate them in tandem with recessed ceiling lights and wall sconces. This strategy balances the room's overall illumination and eliminates harsh downward shadows.


